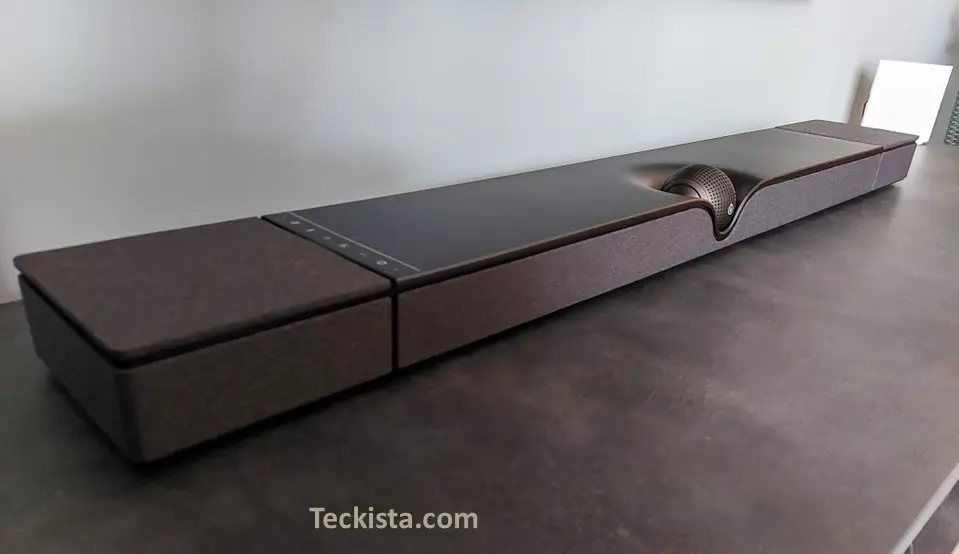
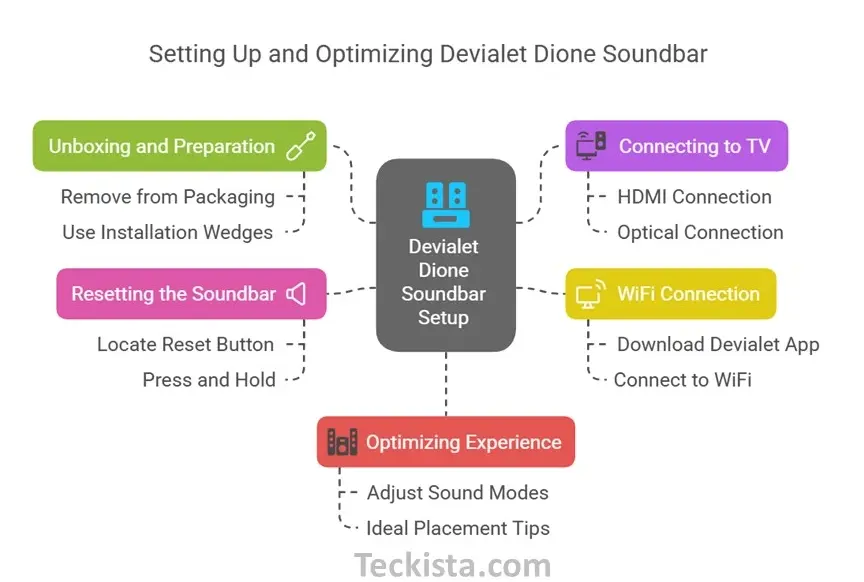
How to Set up Devialet Dione Soundbar is essential for getting the best audio performance. The Devialet Dione soundbar is built to provide clear sound for home use with Dolby Atmos and high-fidelity features. Whether you are setting it up for the first time or fixing connection issues, this guide covers everything from unboxing to adjusting the sound settings.
Unboxing and Preparing the Devialet Dione
Before you begin, ensure that you handle the Devialet Dione properly to prevent any damage.
Steps to Unbox and Set Up:
- Remove the Devialet Dione from its packaging with care.
- Place the installation wedges flat on a surface.
- Very gently lay the Devialet Dione upside down on those wedges so that the central sphere cannot be damaged. Never attempt to turn the soundbar upside down without using the wedges..
Power Connection:
- Insert the power cable into the power port of the Devialet Dione.
- Plug it into a power outlet and ensure the device is powered on.
How to Connect Devialet Dione Soundbar
To enjoy high-quality audio, you need to connect your Devialet Dione properly.
Audio Connection:
- HDMI eARC/ARC (Best Option): Connect an HDMI cable from the soundbar’s HDMI port to your TV’s HDMI eARC/ARC port. This ensures lossless Dolby Atmos audio.
- Optical Cable (Alternative Option): If your TV lacks an HDMI eARC/ARC port, use a TOSLINK optical cable instead.
Positioning the Soundbar:
- Place the Devialet Dione on a stable, flat surface next to your TV.
- Ensure there is some space between the wall and the soundbar.
- Keep the sides unobstructed for optimal sound dispersion.
How to Connect Devialet Dione Soundbar to TV
Ensuring a proper connection between your Devialet Dione and your TV is key to an immersive audio experience.
HDMI Connection:
- Plug one end of the HDMI cable into the HDMI eARC/ARC port on your TV.
- Plug the other end into the HDMI port on the Devialet Dione.
- Enable HDMI CEC and eARC in your TV settings (if applicable).
Optical Connection (If HDMI is Unavailable):
- Connect a TOSLINK optical cable to both the TV and soundbar.
- Select Optical Output in your TV’s audio settings.
Check out the complete Devialet Dione review here
How to Connect Devialet Dione Soundbar to WiFi
Connecting your Devialet Dione to WiFi allows for remote control via the Devialet app and access to advanced features.
Steps to Connect to WiFi:
- Download the Devialet App from your device’s app store.
- Open the app and select Add New Device.
- Follow the on-screen instructions to connect the Devialet Dione to your home WiFi network.
- Once connected, you can adjust settings like audio modes and room calibration for the best experience.
How to Reset Devialet Dione Soundbar
If you’re experiencing connectivity issues or want to restore factory settings, resetting your Devialet Dione can help.
Steps to Reset:
- Locate the reset button on the soundbar.
- Press and hold the reset button for 6 seconds.
- Release the button and wait for the soundbar to restart.
Note: After resetting, you’ll need to reconnect the soundbar to your TV and WiFi and reconfigure any previous settings.
Optimizing Your Devialet Dione Soundbar for the Best Experience
To get the best sound quality, follow these expert tips:
Adjusting Sound Modes:
- Movie Mode: Best for immersive cinematic sound.
- Music Mode: Enhances stereo playback.
- Voice Mode: Ideal for clearer dialogue in TV shows and podcasts.
Ideal Placement Tips:
- Place the soundbar at ear level for the best surround sound effect.
- Avoid blocking the side-firing speakers.
- Ensure a balanced room setup for optimal Dolby Atmos experience.
Final Thoughts
Setting up the Devialet Dione soundbar is simple and ensures clear sound for your home. Follow these steps to get the best Dolby Atmos surround sound. For assistance, refer to the Devialet user manual or contact customer support. Enjoy your Devialet Dione sound system.