How to connect Bose 500 to Wi-Fi? is a question asked by many Bose speaker users. I know it is not rocket science but some technical issues here and there might cause problem in the connection
In today’s fast-paced world, access to audio is essential. Music, podcasts, and smart assistant features are now indispensable. Wi-Fi is crucial if you own a Bose 500 speaker. It unlocks the full potential of your Bose 500. Enjoy crystal-clear audio along with the smart assistant integrations with Wi-Fi. It ensures an uninterrupted and seamless listening experience. But how to connect Bose 500 to Wi-Fi? This guide helps you get the best from your speaker. Use it for setup or fixing connectivity problems. By the end, you’ll connect your Bose 500 effortlessly.
What Makes the Bose 500 a Must-Have Smart Speaker?
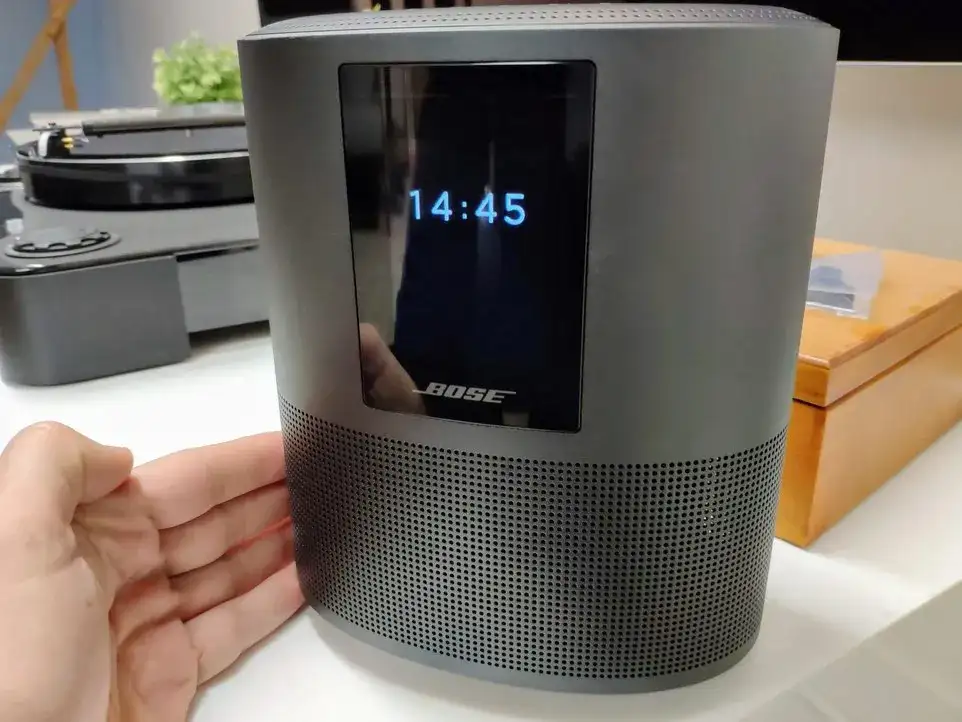
The Bose 500 is a smart speaker designed to deliver sound quality. It is equipped with Alexa and Google Assistant. Being more than just a speaker It is an assistant, hub, and home controller all rolled into one. If you want to use these features Bose 500 needs to be connected to Wi-Fi.
After connecting to Wi-Fi, you can stream music from platforms like Spotify, Apple Music, or Amazon Music. You can also gain access to firmware updates that improve the device’s functionality. This ensures your Bose 500 remains up-to-date with features. A Wi-Fi connection also enhances the speaker’s responsiveness to voice commands, making it a part of any smart home setup.
How to Connect Bose 500 to Wi-Fi? Step by Step Guide
Connecting your Bose 500 to Wi-Fi might seem daunting, but it’s a straightforward process if you follow these steps:
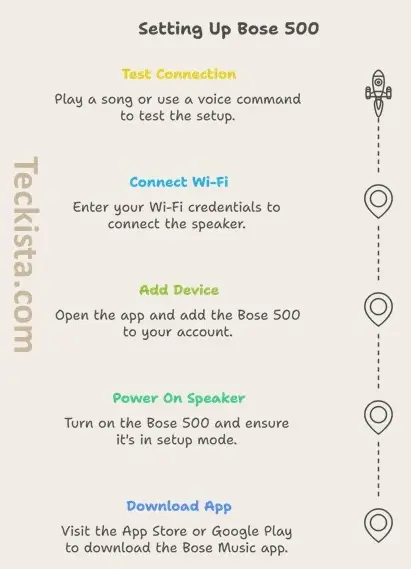
Step 1: Download the Bose Music App
- Visit the App Store (iOS) or Google Play Store (Android).
- Search for the “Bose Music” app and download it to your smartphone or tablet.
Step 2: Power On Your Bose 500
- Plug in your Bose 500 and turn it on.
- Ensure the speaker is in setup mode. If not, press and hold the Action button until the light bar flashes.
Step 3: Open the App and Add Your Device
- Launch the Bose Music app.
- Log in or create a Bose account.
- Tap the “+ Add Product” option and select your Bose 500 from the list of available devices.
Step 4: Connect to Wi-Fi
- Follow the on-screen prompts to connect your speaker to your home Wi-Fi network.
- Enter your Wi-Fi credentials (SSID and password) when prompted.
- Wait for the app to confirm a successful connection.
Step 5: Test the Connection
- Play a song or give a voice command to ensure the speaker is connected.
- If there’s an issue, restart your router and repeat the process.
Bonus Tips
- Ensure your Wi-Fi signal is strong where the speaker is located.
- Use a dual-band router for better connectivity.
Avoid These Pitfalls When Connecting Your Bose 500
- Entering Incorrect Wi-Fi Credentials: Double-check your network name and password to avoid errors.
- Skipping Firmware Updates: Always update your Bose 500 for optimal performance.
- Poor Signal Strength: Place the speaker close to the router during setup to prevent interruptions.
- Setup Mode Activation: The Action button may vary by model; ensure you are using the correct button as indicated in specific instructions for the Bose 500.
- Wi-Fi Setup Network: If issues arise during setup, it may be necessary to connect directly to the internal setup network of the Bose product before proceeding with Wi-Fi connection14.
- Permissions: Ensure that location and network permissions are enabled for the Bose Music app on your mobile device.
Final Thoughts
Connecting your Bose 500 to Wi-Fi is a simple yet crucial step to enjoy its full capabilities. With this guide, you can easily set up your speaker and start exploring its incredible features. From high-quality streaming to smart assistant functionality, a stable Wi-Fi connection ensures you’re getting the best experience. Now that you know how to connect Bose 500 to Wi-Fi, why not give it a try? Share your experience in the comments below and let us know if this guide helped you!